Creating and launching your own NFT collection on the Sui blockchain might sound intimidating at first. But the good news is it’s actually simple once you understand the basic building blocks. You don’t need to be a professional developer to follow along, and this guide is designed specifically for beginners who want to take their first step into NFT (Non-fungible token) world using Sui.
In this tutorial, we’ll walk you through everything you need to know to create and publish an NFT collection from scratch. By the end, you’ll understand how Sui treats NFTs, what tools you need to get started, and what to expect along the way.
What You’ll Learn
- What NFTs are and how they work on Sui
- The basic tools needed to create and manage an NFT collection
- How to design your collection and store it on the blockchain
- What happens when you “mint” an NFT
- How to make your NFTs visible, searchable, and tradable
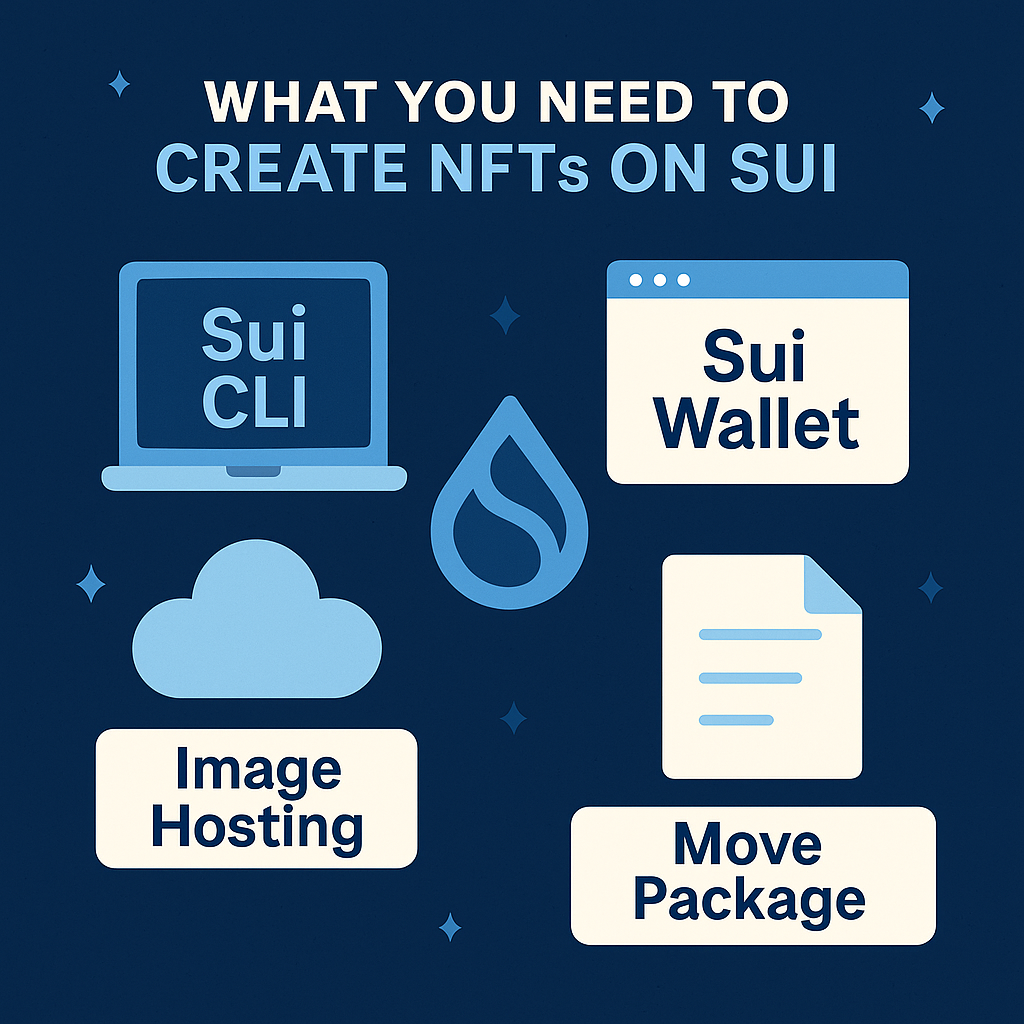
Tools You’ll Need (Coding Experience Is Not Required)
To create and deploy NFTs on Sui, you need just a few things:
- Sui Wallet: This is your digital wallet where your NFTs and tokens will be stored. It also connects you to the blockchain.
- Sui CLI (Command Line Tool): This tool helps you interact with the Sui blockchain. It’s what developers use to run commands, but don’t worry, you only need it for a few simple steps.
- Image Hosting: Your NFTs will likely include images. You’ll need to upload these images to a hosting service (like Imgur or IPFS) so the links can be included in your NFT data.
- Move Package: A collection of instructions that tells the Sui blockchain what your NFT collection is and how it works. Think of it like uploading a set of instructions that the blockchain will follow.
Understanding NFTs on Sui
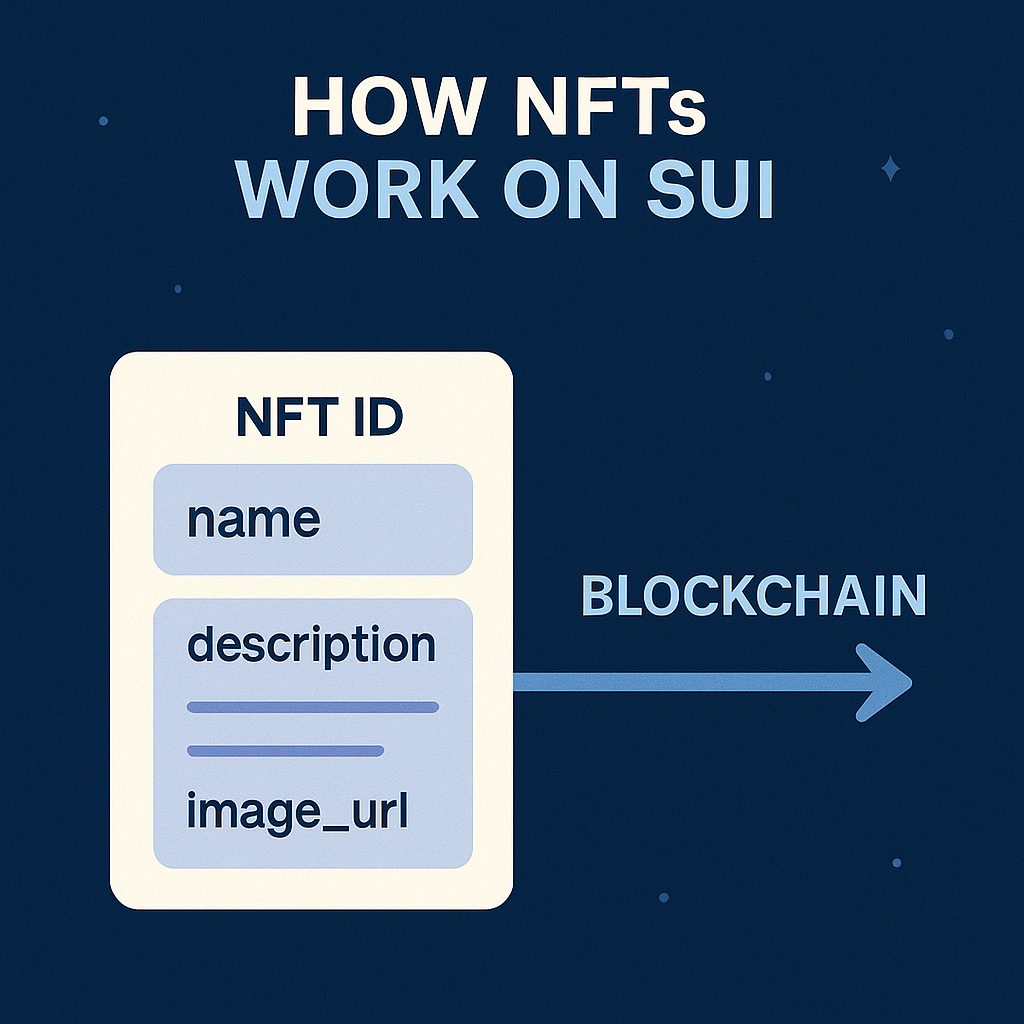
Sui does something a little different compared to other blockchains. Instead of treating NFTs as a special type of asset, Sui treats everything as an object. This means your NFT is just a unique object with its own ID and metadata, such as:
- Name of the NFT (e.g. “Galaxy Fox #1”)
- A short description
- A URL pointing to the image or file
This design makes NFTs on Sui simpler and more flexible. Every NFT is already unique by default, and the system is built to work with these objects easily and quickly.
Another bonus: Sui NFTs can be updated or frozen, depending on how you want them to behave. You decide if your NFTs should be editable later or permanently locked as collectibles.
Step 1: Planning Your Collection
Before you jump into tools or blockchain steps, take a few moments to plan your NFT collection. Ask yourself:
- What theme or purpose does your collection have? Art? Game assets? Tickets? Membership passes?
- How many NFTs will you launch? Is this a limited series (like 100 items) or an ongoing release?
- What information will each NFT include? Name, description, image link, artist info, etc.
- Do all NFTs share the same template? Or does each one need its own unique structure?
Having a clear vision makes the creation and publishing process smoother. You’ll also know what kind of metadata you need to prepare in advance.
Step 2: Creating the Smart Contract (No Coding Required)
An NFT smart contract is simply a set of instructions that live on the blockchain. This contract tells the Sui network how to create, manage, and send your NFTs.
In Sui, these instructions are written using a language called Move. If you’re not a developer, don’t worry; many template-based tools or guides exist that help you customize a standard contract. You just fill in your collection’s name, image links, and a few other details.
When your contract is ready, it will:
- Define the NFT structure (what info each token contains)
- Include a way to “mint” or create new NFTs
- Link image and metadata through URLs
You can work with a developer or use existing community guides that provide beginner templates for NFT collections.
Step 3: Setting Up Your Wallet and Network Access
Now it’s time to connect to the Sui blockchain so you can publish your collection. You’ll start by setting up your wallet and developer tools.
- Install a Sui Wallet (browser extension): This holds your NFTs and allows you to interact with Sui. It’s like your key to the blockchain.
- Connect to Testnet or Devnet: Sui has different networks for testing and real usage. Start with Testnet so you can try things without using real money.
- Use the Faucet: This gives you free test SUI tokens to cover basic actions like publishing your NFT contract.
Once you’re set up, your wallet is connected, and you have tokens to use, you’re ready to move forward.
Step 4: Publishing Your NFT Collection to the Blockchain
This is the moment your NFT collection goes live.
Publishing your smart contract means sending it to the blockchain where it becomes permanent. This includes:
- Uploading the logic (how the NFT is created and managed)
- Storing your metadata and image links (via IPFS or other services)
- Creating a unique “package ID” that others can use to interact with your NFT collection
Once published, this contract can be used to mint as many NFTs as you want, anytime.
Step 5: Minting Your NFTs
To mint means to create a new NFT on the blockchain. You can think of it like “printing” a digital collectible.
You (or your users) can mint NFTs by running a simple command. That command calls the minting function in your smart contract, passing in things like:
- Name
- Description
- Image URL
Each time this is done, a new NFT is created and sent to the user’s wallet.
Step 6: Making Your NFTs Visible
Once you’ve minted your NFTs, you want them to show up properly in wallets and marketplaces. To do this, Sui uses something called the Object Display Standard.
This display standard tells wallets how to present your NFT visually:
- Which field shows the name
- Which one is the description
- Where to find the image
Adding a display is optional, but recommended. It helps people recognize and enjoy your NFT collection more easily. You can also make it easier for users to find your NFTs by linking them to platforms like the Sui Vision or Suiscan, which show all objects and transactions publicly.
Step 7: Selling NFTs with Sui Kiosk (Optional)
Once you’ve created your NFTs, you might want to sell or trade them. Sui has a built-in system called the Kiosk.
A kiosk is like a digital storefront. You can:
- Place NFTs into your kiosk.
- Set a price.
- Let others buy them safely.
Only the owner of the kiosk (you) can list items for sale. Buyers can then pay using SUI tokens and receive the NFT instantly. You can also sell on Sui NFT marketplaces like Tradeport.
FAQs for First-Time Creators
Q: Do I need to mint all my NFTs at once? No. You can mint them over time using the same smart contract.
Q: Can I edit my NFTs after minting? Only if you allow it in your contract. Otherwise, NFTs are usually permanent.
Q: Can I use any image link? Yes, but it must be public. Walrus is recommended for decentralized storage.
Q: What if I make a mistake? Start on Testnet. You can test everything without risk before going live.
Glossary for Beginners
- NFT: A one-of-a-kind digital object stored on the blockchain.
- Smart Contract: Instructions on how NFTs are created and managed.
- Minting: The process of creating new NFTs.
- Wallet: A digital account used to hold your NFTs and tokens.
- Gas: The small fee required to perform actions on the blockchain.
- Kiosk: A storefront for listing and selling your NFTs on Sui.